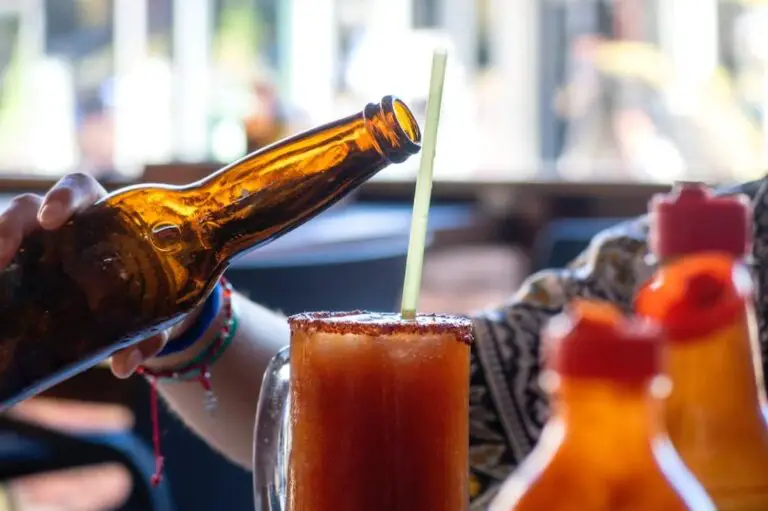
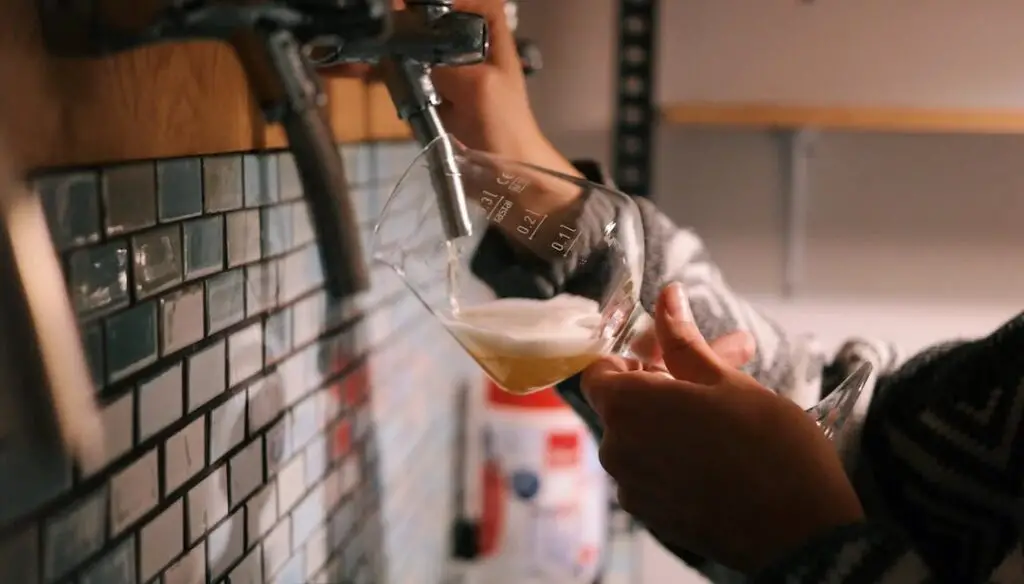
How To Print Beer Labels?
You love beer – as a matter of fact, brewing your own beer is your hobby. You make your own beer, and everyone seems to love it. You want to make it popular among your friends and neighbors, but how?
Branding! All your beers should be easily identifiable by their labels. You can’t rely on the brownish bottles – you’ll need your own personalized beer labels. But how do you create your own labels? How to print beer labels for your own beers? Here’s the perfect guide to help you out:
Know The Beer You Make
So what is the beer you are making and trying to impress your friends with?
- Is it lager, pilsner, stout, ale, IPA, or a sour beer?
- What makes it different?
- Does it have a special ingredient that gives it an edge?
- Why should people try it?
- Are there any WOW features people should know about your beer?
Think Of A Name
This is where you’ll need to get creative. There are certain “rules” when it comes to beer names, so it might be helpful in the beginning. Maybe include your name, your city, and something special about you, such as your nickname. Similarly, think about a suffix often used by beer companies, like “-ator” (Maximator or Optimator are good examples). Also, add a hint about the type of beer in the name – for sours, you can add the word lambic; for lagers, add a German word, and so on.
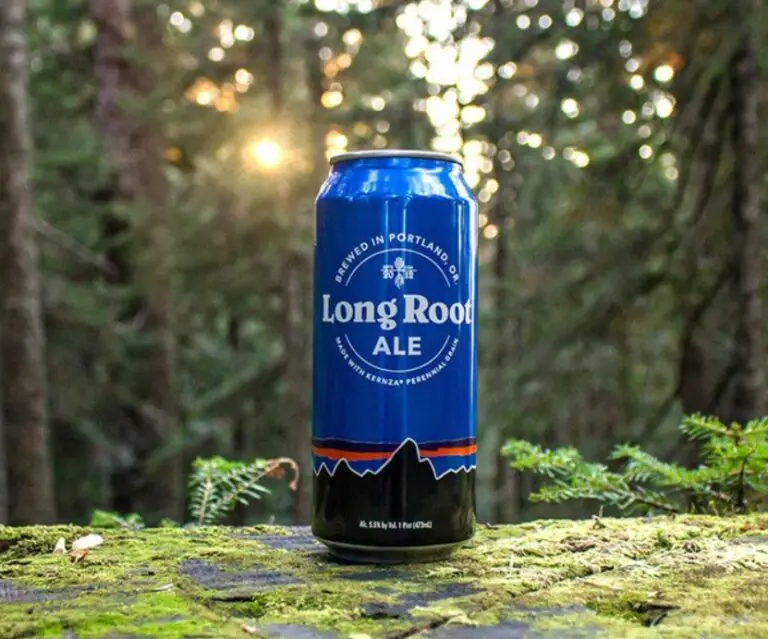
The Size of the Bottle and the Labels
Beer bottles come in a huge variety of sizes – you get everything from pony bottles of 200 ml to magnum bottles of 1.500 ml or even bomber bottles of 1.900 ml. However, most home brewing bottles are sold in standard sizes of 12 ounces, 16 ounces, or 22 ounces. You’ll likely go for the 12-ounce bottles because they are the most comfortable and simple to use.
Labels are incredibly diverse – some are large and cover almost the entire bottle, from front to back; others are just a diagonal, elongated strap, and others are small round or oval-shaped badges. Think about your beer’s name, image, and identity before deciding on the type and size of the label. If not sure, look online to check other beer labels. Measure the available space and work within those constraints. Standard beer bottle labels are usually around 3.5 inches by 4 inches, but cans and larger bottles might have different dimensions.
Label Design
Create an Eye-Catching Logo: Craft a distinctive logo for your homebrew. This could be a unique illustration, a combination of letters, phrases, or a combination of both. Your logo should be easy to read and recognize, reflecting your beer’s personality and style. People should immediately know that it is your beer!
Incorporate Essential Information: this is optional, but you may include vital details like the beer’s name, alcohol by volume (ABV), and general nutrition facts (keep in mind that this information will not be 100% correct, but you can include a range of values). Make sure all text is legible and visually appealing.
Tell a Story with the Label: A well-designed label can tell the story of your beer and what makes it special. Consider using visuals that represent the ingredients, brewing process, or the location where it was brewed. This can create a stronger emotional connection with potential consumers.
Select a Good Color Scheme: Colors play a significant role in evoking emotions and setting the tone for your beer. Choose a color scheme that complements the beer’s style and theme while ensuring the text remains easily readable. Look at how other beers are doing this – find a style that fits your style – minimalist vs. classic color schemes, black and white schemes, and so on.
Typography Matters: Select fonts that match the character of your beer. Bold, elegant, or playful fonts can enhance the label’s overall look. Ensure the font size and style allow for easy readability. Make yourself familiar with the most famous fonts. You’d be surprised to learn how many are there!
Test the Design:
- Before printing a large batch of labels, test the design by creating a few prototypes.
- Get feedback from friends, family, or fellow brewers.
- Make adjustments based on their suggestions and refine the design accordingly. You can also ask around, and see what your friends say about the labels you created.
Of course, you can also surprise your friends and family (so don’t tell!).

How to Print Beer Labels?
Now it’s time to actually see what you worked for! It’s time to print the labels and let the world see your beer bottle designs! But how?
The material of your label can affect the label’s appearance and durability. Matte or glossy finishes, embossing, or foil stamping are some printing techniques that can add a premium feel to your label. There are vinyl labels, special papers, and a huge variety of materials to choose from. Some can get very expensive, while others are difficult to find on the market. The best approach is to go for a lighter paper.
Using simple paper is also good because you can use your home printer to print the labels. For small batches, this is ideal and won’t cost you a lot. Of course, if you want to make hundreds of bottles per week, you may choose a professional, commercial printing service. High-quality printing is expensive, but it’s worth it if you really want something special.
Sticking the labels to your beer bottles, how do you do it? A very effective tip is to use milk – yes, it works (don’t laugh). If you decide to use milk, it’s better to only use it if your printer uses laser technology, not ink (milk may dissolve the ink, leaving blots and stains). You can also choose sticker paper, which will solve all the sticking problems.
Using an online printing service
Beer labeling services are available online. You can simply upload your design, choose the type of can or bottle you will use, and create the label you want. You’ll get a PDF file that is easy to print. You’ll just have to cut out the labels, and you are good to go.

I am a young architect with a passion that goes beyond blueprints… it’s beer! undertherosebrewing.com is more than just a blog, it’s a manifestation of my lifelong dream to explore, read, and learn everything about beer. Join the blog on this unfiltered and genuine adventure into the heart of beer culture. Cheers!